




Scabiosa

0

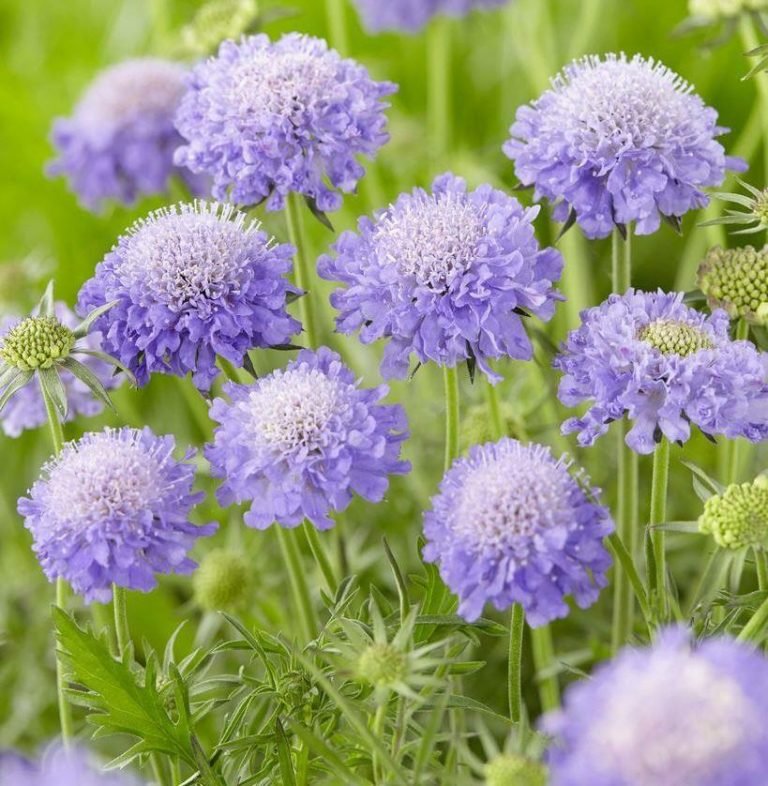
Scabiosa (Scabious) – Scabiosa is one of the best, easy-to-grow garden flowers that you can add to your garden. It does not produce an abundance of blooms at any one time, and yet it remains a favorite herbaceous border perennial. There are two basic reasons for its popularity – flowering begins in late June and continues until the first frosts arrive, and the large flowers are excellent for arranging indoors. The frilly-edged ‘pincushions’, blue or white and up to 4 in. across, last a longtime in water and can also be dried for winter decoration.

Plant in the spring and add compost, peat or leaf mould to the planting mixture. Dead-head faded blooms and cut down the stems once the floral display is over. Keep watch for slugs in the spring. It is a favorite nectar plant of key pollinators such as bees, and interestingly it is also deer-resistant. Scabiosa plants also make good companion plants for pinks, bellflower, dianthus,  geranium, black-eyed susans and petunias.

Scabiosa atropurpurea ‘Tall Double Mix’

Varieties of Scabiosa

The basic species is Scabiosa caucasica – height 2-8 ft, spacing 1½  ft, flowering period June – October. Scabiosa bears large lavender-colored flowers but it has now largely been replaced by its named varieties.

The one you are most likely to be offered is ‘Clive Greaves’ – mid-blue, large-flowered and long-stemmed. There are a few white varieties, such as ‘Miss Willmott’ and ‘Bressingham White’ and there are several deep violet types to choose from – pick ‘Moerheim Blue’ or ‘Imperial Purple‘.

Site and soil

Any well-drained, non-acid soil will do – thrives best in full sun. Mix a standard application of a balanced organic fertilizer into the soil prior to planting.

Time to sow

Sow scabiosa seeds indoors in early spring and set seedlings out two weeks before your last spring frost is expected. Transplant carefully, without disturbing the roots.

Propagation

Divide clumps in spring.

Scabiosa ‘Royal Ruby’

Scabiosa ‘Blue Diamonds’


Planting Climbers In Mediterranean Gardens

0

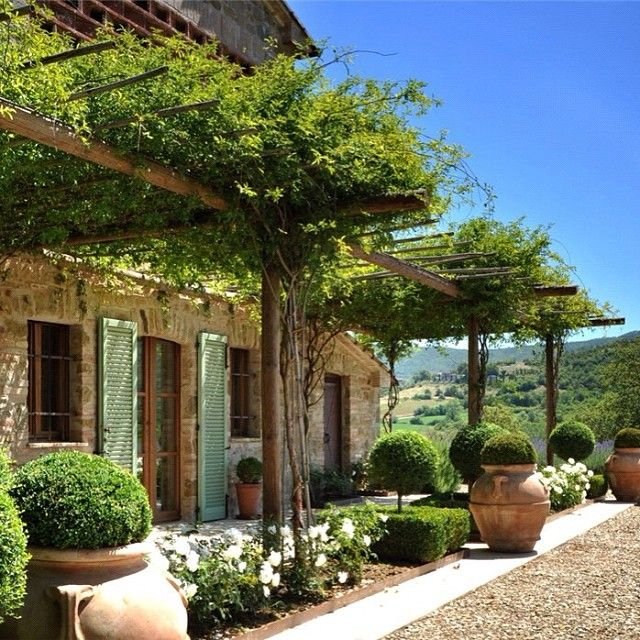
Planting Climbers In Mediterranean Garden – One thing you see lots of in Mediterranean gardens is climbers. They grow them up the walls or over a pergola on the back of the house – some of the pergolas are wonderful, with the ’roof’ just made out of rough branches all tangled with knobbly grape-vines and bunches of fruit dripping down. 

In the Mediterranean they are useful for cooling the garden down, as without them the rendered walls of the villas reflect so much heat and light the gardens would be unbearable. But at home they just soften the look. It’s beautiful to see a huge mish-mash of climbers all jostling for space on trellis, up walls or just shinning up into trees.

Climbers in Mediterranean garden

They are also a great way of covering structures like an old shed or a trendy creeper-clad tunnel. Being big, climbers fill up a lot of room, so it only takes a few plants to make a garden that looks stylish but doesn’t need a lot of looking after.

Think Mediterranean and say the name of the first climber that comes into your head. It’s a grape-vines! Grapes make brilliant climbers for walls, arches, or on a pergola — they look good growing up rustic poles, brick pillars, or sophisticated Italian-style twisted stone columns. Anywhere so long as it’s sunny. What’s good about grape-vines is that they create lots of shade, and make a really lovely relaxing place to sit underneath. You can hack them back early in spring when they get too big.

Grapes in Mediterranean garden

There are several varieties that will give you good bunches of grapes that will ripen outside so they are sweet enough to eat straight off the vine towards the end of summer. But a lot of the outdoor grapes sold are really only good tor making wine, and their grapes taste a bit sour it you eat them.

However you use climbers at home, they are only as good as their roots – so that’s why it’s important to plant them properly. Climbers often have problems because the soil in the places we grow them tends to be full of builders’ rubble and foundations, so you need to make better preparations than you would for just planting a shrub down the garden.

Planting climbers in Mediterranean gardens

  • Dig plenty of well-rotted compost or manure into the soil, and if you are planting against a wall don’t just do the place you are planting in – prepare the whole border in front of the wall so the climber has plenty of good soil to grow into. Then dig a hole, tip the plant out of its pot and put it in. Most climbers should be planted so that the top of the rootball ends up level with the surface of the surrounding soil, but if you are planting clematis put them in deeper, so that the top of the rootball is 4 to 6 inches underground. This means the plant can send out new shoots from below ground if the top gets killed off by disease or over-enthusiastic hoeing.
  • If you are planting a climber against a wall, it’ll need something to grow up – it’s actually easier to put up some trellis before putting the plant in. Tie or wind the stems around the trellis, as even self-twining climbers need help getting going.

Growing Peas

0

Growing Peas – Peas (Pisum sativum) are one of the commonest and most loved garden vegetables, but they can be maddeningly difficult to grow because they are as popular with birds and mice as they are with humans. They can be difficult to germinate; they do not relish cold soils; and there is no point in sowing them early, particularly in a cold spring, for the mice will have more time to find them and the seeds are prey to fungus and bacterial diseases.

Conversely they are a cool weather crop and dislike open and hot positions in the garden. They will grow best in some dappled shade. If you want to grow early peas to mature at the end of May or beginning of June, you should protect the seeds with garden fleece or sow under cloches.

Growing peas

Peas can be divided into five groups: purple-podded peas (quite rare, but they look attractive in the garden and are well worth considering by the container gardener); mangetout or sugar snaps that are harvested young and the whole pod is cooked and eaten; the small, sweet petit pois; and ordinary garden peas that are shelled (there are two sorts: the sweeter, wrinkle-seeded varieties and the hardier, round-seeded varieties). Finally, there are the semi-leafless peas that were originally developed for commercial growers.

Peas will need support as soon as the first tendrils appear. This was traditionally achieved using pea sticks, cut from the hedges. Wide-mesh wire or nylon netting will serve just as well. Peas must be planted in fertile soil to flourish, but thereafter they do not need feeding. They do require watering when they start to flower.

Peas can be grown successfully in containers and should be grown as a feature plant in pots up a decorative trellis. If you plan to do this, check the height of the variety you choose before planting: this can vary from 45 cm-1.5 m (1 ½-5 ft). If your patio or roof garden is exposed they may require shelter, both from the wind and the birds.

Once the peas start to ripen they should be picked continuously as this encourages the plants to produce more and any surplus can be frozen. Ripe peas should be cooked immediately after picking as the sugar starts to turn into starch once the pod has been picked.

Sowing: Sow seeds in spring through to early summer.

Planting depth: 5 cm (2 in).

Planting distance: 7.5 cm (3 in).

Purple-podded peas

Soil: Peas like very fertile soil and will require regular feeding and watering.

Site: Cool. They will not do well on a hot, exposed south-facing terrace.

Harvesting: Ready to harvest after approximately 8 weeks.

Uses: Culinary.

Other varieties: ‘Kelvedon Wonder’, , ‘Early Onward’ (First Earlies), ‘Onward’ (Second Early), ‘Senator’ (Maincrop), ‘Oregon Sugar Pod’, ‘Sugar Snap’ (Mangetout).
Sowing peas

‘Kelvedon Wonder’

‘Oregon Sugar Pod’

5 Tips to getting rid of Brazilian pepper in Port Charlotte

0

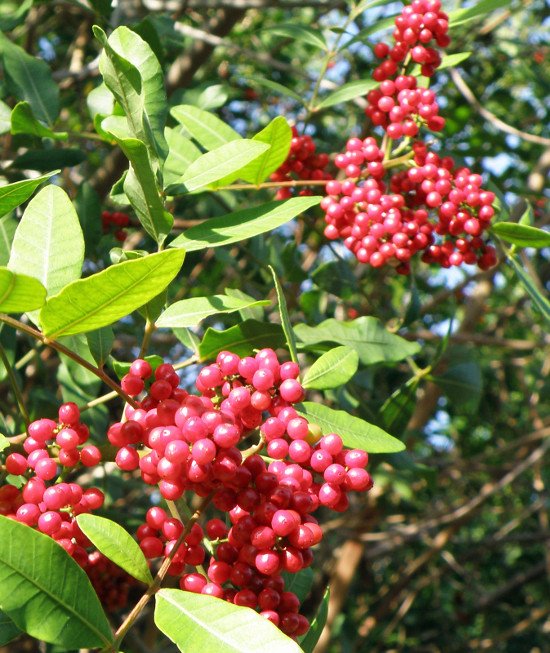
Brazilian pepper is one of the most invasive and destructive plants in Florida. It has become a major problem in this state since it kills all other vegetation around it. Unfortunately, most people don’t know to get rid of this plant.  To help you out, here are 5 tips to getting rid of it.


  1. Engage a reputable weed removal company

Brazilian pepper is known to regrow if not removed properly. That’s why you need to engage the services of a reputable weed removal company, if you want to conclusively deal with it. For instance, if you seek the services of ACI Aquatic consulting Inc. This company handles Brazilian pepper removal in Port Charlotte, among other areas in Florida. Thanks to their vast experience, you are guaranteed that your Brazilian weed problem will be a thing of the past.

  1. Find out about local ordinances governing its disposal

In case you decide to remove this plant yourself, don’t just dispose it like you would, any other plant or trash. Talk to a local trash company, and they will take you through the ordinances governing the disposal of Brazilian pepper.  The idea is to prevent its seeds from spreading and re-growing as you try to dispose of it. In essence, an understanding of local ordinances on how to properly dispose this plant not only keeps you on the right side of the law, but also eliminates any chances of it reemerging.

  1. Use the right herbicides

For you to completely get rid of the Brazilian pepper plant, you need to use herbicides even after you have cut or uprooted it. However, to get the job done effectively, you need to ensure that you are using the right pesticides. You can talk to your local land management company and they will give you detailed information on the best herbicides to use. Besides, they can also help you with the pesticide application procedures. This ensures that you get the job done right, and without any physical harm to yourself.

  1. Remove sawdust from the cut area

The Brazilian pepper plant is known to regrow even after its cut. That’s why it is always advisable to get rid of any of its remnants after you have cut it down. As such, you need to get rid of the sawdust just to eliminate any chances that it might spread any seeds and start regrowing. In fact, if possible, get rid of the saw dust by burning it. This way, you eliminate any remaining seeds of this highly invasive plant.

  1. Spray any samplings after you have cut the plant

A few days after you have cut down the plant, you might find tiny seedlings growing around that area. Remove them by hand, then spray that area with herbicides. The idea is to ensure that this plant never regrows.  Since these samplings are what later balloon into a full grown Brazilian pepper plant, it makes sense to get rid of them early.

Succulent Plants As St Patrick’s Day Decorations

0

Succulent Plants As St Patrick’s Day Decorations – In keeping with the green theme for your St. Patrick’s Day party, we’d provide you with some ideas for your dinner table decorations using succulent plants. However, please note that in this article about St Patrick’s Day decorations, green will be referred to as good for the environment green.

Daily we are reminded about our environment and the importance of recycling, reusing and reducing everything we use. Florists and restaurants are now getting on board with this mantra as well. Recently, various restaurants use succulent plants as table decorations on their dining room tables. Bar arrangements and front desk floral arrangements are incorporating succulents as well.

The idea of using succulent plants for table decorations is that once the flowers fade, the succulents can be re-planted and will keep growing. Also, succulents don’t use as much water and will last longer and their colors will be more vibrant.

Another fact about succulent plants is that they last a long time as long as they are in well drained soil and watered regularly. They can thrive indoors as long as they have indirect sunlight.

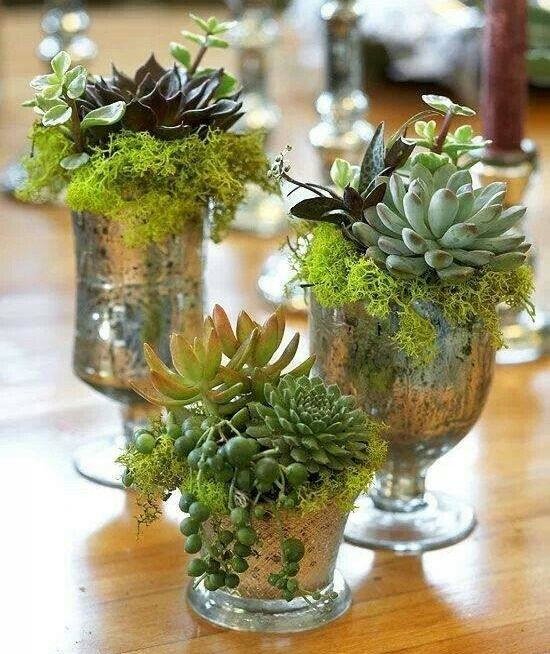
Here are a few ideas for table decorations for your St Patrick’s Day party. Incorporate succulent plants with cymbidium orchids in a flower arrangement as seen above. The green aspect will be the succulents and to bring a bit of color in, use a pink orchid in the arrangement for your St Patrick’s Day decorations.

Using wheat grass is another idea incorporating green table decorations at your St Patrick’s Day party. Use wheat grass on your dinner table and then place votive candles sporadically within the grass.

Be sure to place something underneath the wheat grass to keep the table dry. Also, we suggest you use tea light votive candles to ensure there is plenty of room from the flame to the top of the glass votive candle holder.

Why not add a bit of color to your wheat grass arrangement with succulent plants?  You can also use a pretty ribbon and tie clusters of succulent plants such as Echeveria and then place them on the table. Surround the Echeveria with black rocks to add texture and contrast to your St Patrick’s Day decorations.

Another idea is to place a row of simple one potted Carmen succulent plants down the center of the table for décor. Then incorporate a combination of green and white votive candles along with pillar candles. This centerpiece will bring a sophisticated look to your St Patricks Day party table decorations while keeping within the green theme.

Garden Water Feature Ideas

0

Garden Water Feature Ideas – There are many number of ways of getting a small amount of water to bubble, trickle, flow or glint in a decorative and refreshing way. You can introduce the sound of running water by running it through a pipe in the wall, using one of the cheapest electric pumps and a small cistern.

Cobbles

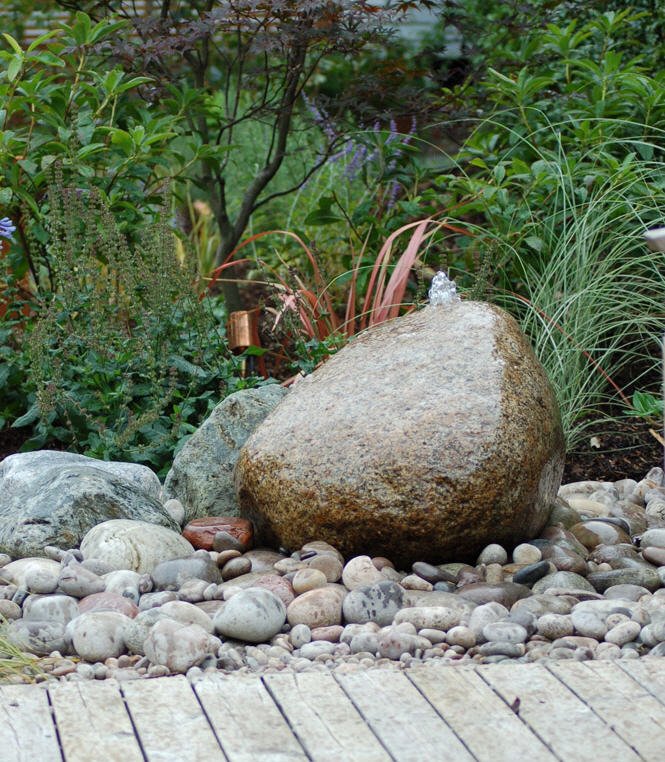
Rounded pebbles collected together are popular as a base for water to trickle over. (These are widely available from garden centers so please do not collect them from beaches.) A cobble fountain is simple and pleasant and does not need a pool. The effect relies on the sound and movement of water splashing over the stones into a reservoir, which is constantly recycled.

You will need a tank large enough for a submersible pump and holding enough water to cope with evaporation from the surface of the cobbles on a sunny day. The size of the reservoir will depend on how often the system is topped up — it need be no bigger than a plastic bucket.

Millstones

A large millstone has a strong architectural impact so should be carefully placed where it will balance some other strong water feature. The water falls over the side of the stone and is collected in a reservoir below; again, no pool is required. A geyser jet can be used to introduce air if you want a more turbulent effect.

Bamboo spout

In Japanese gardens, bamboo canes are used as spouts. Balanced on an upright, the cane fills up with water, tips it out on to pebbles below, then starts all over again. some people find the regular filling and emptying peaceful, others find it monotonous.

Constructing A Herb Tower

0

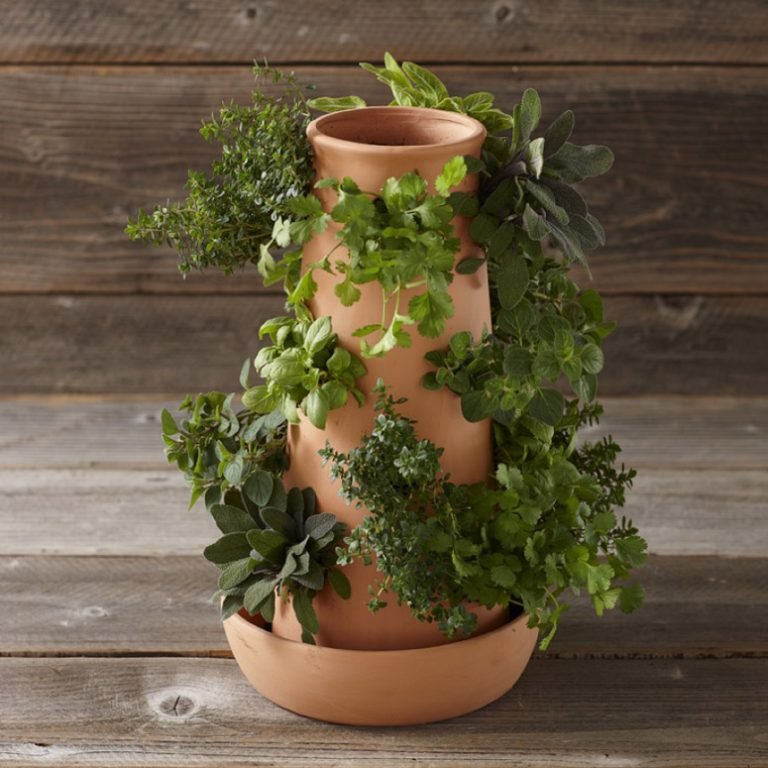
Constructing A Herb Tower – The cooking enthusiasts always like to have pots of herbs next to the kitchen door, so that they can take one step outside and pick a sprig or two while cooking. Most herbs are sun lovers, so a sunny site is of prime importance to grow a good crop.

The smaller species – thyme, chives, oregano and sage – can be grown in a group in a herb pot or, as here, in a herb tower. The larger-growing shrubs and trees, such as rosemary and bay, are best given a pot to themselves. Mint, also, should be grown on its own as it can be extremely invasive. For a better look you can add strawberries.

Many of the smaller herbs, such as oregano, chives, parsley, and tarragon, even though they are perennials and biennials, produce the best flavor if planted in spring and grown as annuals.

There are two main challenges to growing herbs in a herb tower – first of all maximizing space for plants, especially on a small patio or balcony. The other is watering – each of your herbs will need to be watered every single day. The most clever thing about this herb tower is that you only have to water all of your plants in one place. Literally fill the top of the water reservoir and the water will trickle down through the watering disks to give all of your plants a drink.

Puschkinia

0

Puschkinia -It is strange that this close relative of the Bluebell is so rarely grown. Puschkinia is an excellent plant for the rockery – a trouble-free, low-growing plant which bears its attractive blooms early in the year. It spreads quite rapidly by means of offsets which can be used to increase your stock.

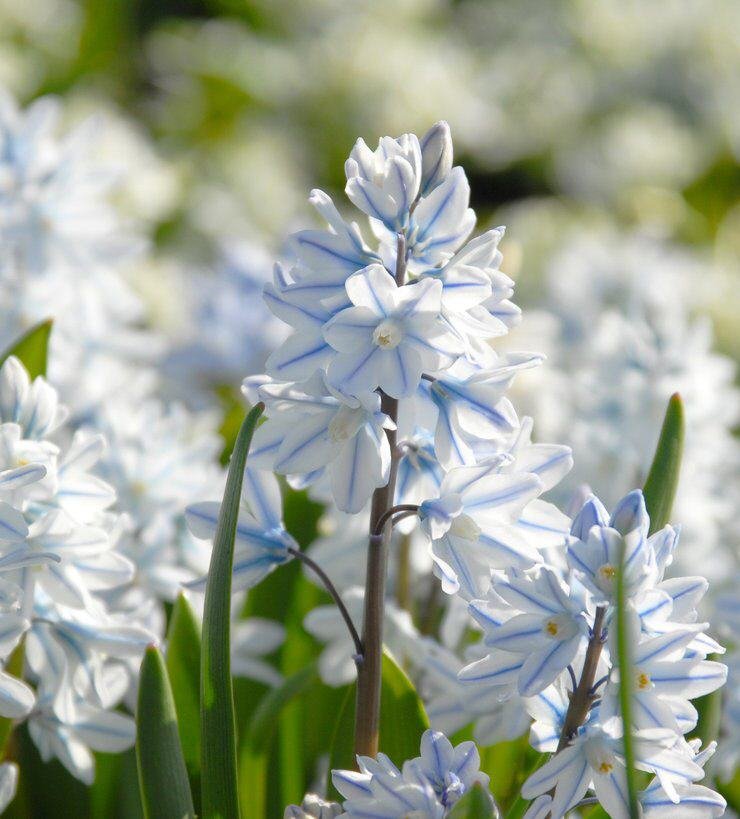
The species grown as a garden plant is Puschkinia scilloides (Striped Squill). Flowering in early spring, each stem carries about six flowers which are open starry bells – each petal is pale blue with a central dark blue stripe. Colorful and easy, yet hardly known by gardeners.

Plant in group for maximum effect and add compost or peat to the soil before putting in the bulbs.

There is a variety Puschkinia alba which bears white petals.

This plant is great for borders, rock gardens, woodland under trees  – generally, Puschkinia looks the best in small gardens. Planting time is September – October (planting depth 2 in, spacing 3 in, height 4 in). Thrives in any well drained soil.

Puschkinia will be happy in sunshine or light shade but will forgive you for planting them in shade that’s a bit too deep for narcissi. A scented flower that’s an economical and attractive choice for almost any garden.

5 Tips to Finding a Good Tree Service in Mount Pleasant, SC

0

Sometimes the trees around your home may need to be removed. Other times they may have simply grown too rigorous and need to be trimmed. You can do it yourself, but chances are you lack the expertise to do the job properly, not to mention the risks involved.

Often there is need to use heavy machinery. This is why you need to seek the services of a professional tree service provider. There are many individuals or companies that offer professional tree services in Pleasant, South Carolina. It is possible to find more information about these service providers at http://palmettotreeservice.org website.

Here are a few tips you can use to find the right one in Mount Pleasant, SC:

  1.    Inquire as Much as Possible

Before you hire a tree service provider, you need to be sure of their competency if you are ever going to get the quality of service that you need. Ask to see their certificates of insurance. This will ensure any damage to property is covered. Also, go for a provider that has been around for a long time as they likely have a good track record.

  1.    Search for and Read Client Reviews

There is no better way to judge how reliable a tree service provider is than finding out what their former clients said about them. A good and reliable tree service provider will have happy clients.

In case you come across one where clients are complaining due to damage to property, then you will know who to avoid. You can also read reviews online.

  1.    Check Their Track Record

Checking the company’s track record is important. A good tree service provider keeps the promises they make. When they say they will have everything cleaned out by the end of the day, they hold true to their word. A company with a good track record means that you can rely on them to provide quality work and deliver on their promises.

  1.    The Right Equipment and Gear

Your choice tree service provider should have all the necessary equipment to ensure the job is done efficiently while keeping both the personnel, family members and property safe from damage. Such equipment should include up-to-date climbing harness, helmets, saddle, climbing ropes, and steel toe boots.

If you need services on large trees, then ensure that the personnel is well equipped with heavy-duty machinery.

  1.    The Quality of the Work Should Equal the Value

This simply means that the services they offer should match the price they charge. Keep in mind that the prices will depend on the amount of work to be done as well as the quality they promise to offer. If for example the service provider charged for trimming trees but you notice that they are only removing dead branches, then you will obviously feel shortchanged.

This is one of the main reasons why it is important to have a written contract. The services they promise to offer should be delivered without fail. Trimming or cutting down trees is not the only service you  should expect. There is also cleanup of the debris that results from the cut trees.  


It’s Time To Prepare Your Garden For Spring

0

It’s Time To Prepare Your Garden For Spring – Gardening in winter is crucial if you want to keep your garden healthy throughout the year. Protecting plants from the frost, harvesting winter produce and pruning dormant trees are all essential jobs to make the transition to spring and summer all that more easy.

As well as conducting essential maintenance, winter is the perfect time to take a look at your garden landscape and plan any changes for the upcoming year.

Do you need to rotate your crops? Perhaps your land is looking a bit barren, maybe some more evergreens would benefit for the following year? What seeds should you be ordering in?

If you’ve been gardening for a few years and prepare your garden for spring, answering these questions come as second nature, making annual gardening almost instinctual. For those just starting to try their hands manipulating nature, here are some tips to help you prepare your garden for spring.

Wisteria and fruit trees such as apples and pears should be pruned now while they’re still dormant, as leaving them too late will lead to sap bleeding and can hinder growth.

Hardy evergreen hedges can be pruned now to encourage spring growth, whilst conservatory climbers can be pruned to prevent birds from nesting. Roses and any plants showing sign of damage from frost should also be cut back to encourage new healthy shoots.

Digging over the soil with manure, fertilizer or compost is a great way of preparing the ground for spring planters, and will also turn up any weeds and pests which can damage your new plants. Once the soil has been dug over, mulch lightly to keep in nutrients and moisture until the weather has warmed up for planting.

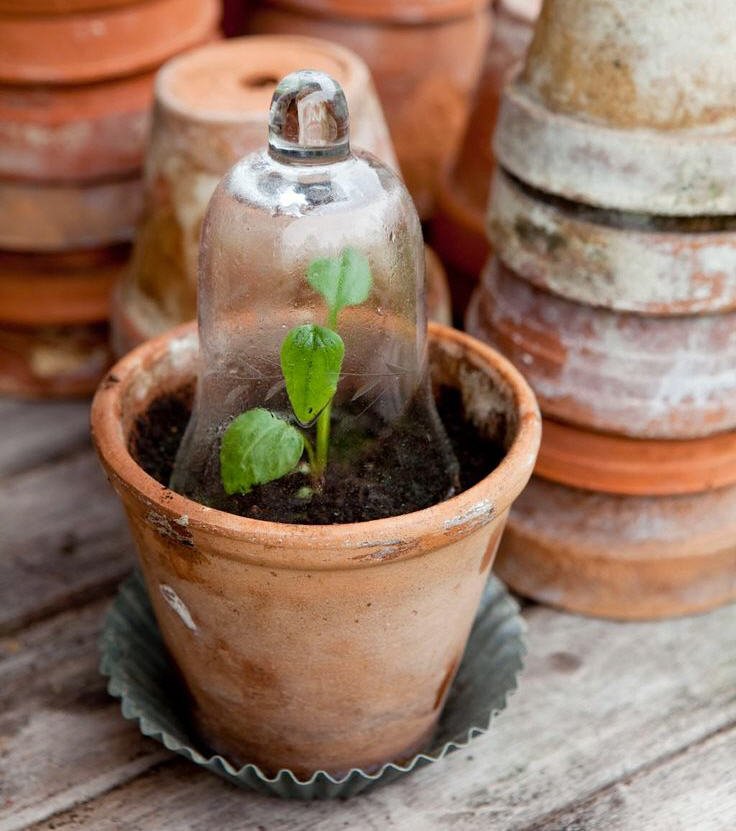
Once the ground reaches 6°C, you can encourage spring seedlings by warming the ground with cloche and planting. Make sure you protect them from cold nights with frost fleece.

If you’re worried plants won’t make it this early, start them indoors and gradually bring them outside for one day, then two days, and so on – this allows them to get used to the sun and rain whilst still growing strong from the warmer indoor weathers.

5 Tips to transforming your garden into an outdoor oasis

0

Your garden is a place for relaxation. Whether it’s for ornamental or farming purposes, it doesn’t change the fact that it’s a place where nature abounds. Transforming your garden into an outdoor oasis is a good idea specially this coming spring. If you’re looking for tips and ideas into making this transformation a reality, you’re in the right place!

Before calling in your trusted gardener and renting equipment from Rent1 USA, make sure you have a plan in mind. Read on to find 5 tips in turning your garden into an outdoor oasis:

  1. Choose your garden type

A variety of plants and flowers can make a dramatic effect on your garden. Plants that are calm inducing and flowers that are fragrant will make your garden feel like heaven. Consider the type of refuge you envision for your space.

Do you want a zen inspired Japanese garden? Then stick to natural plants, wood, and clean lines and aesthetics. Bamboo, stones, and other traditional Japanese ornaments like small lanterns and pagodas complete the look for this serene refuge.

A cottage garden is also another type of oasis you can build at your yard. This style began during the English Tudor period where ornamental gardens serve as a sign of wealth. A cottage garden is filled with plants, colorful flowers, and herbs, making it a garden of form and function. Daisies, roses, and foxgloves are common flowers you’ll see here, along with herbs such as thyme, rosemary, and sage.

If you want to go classic, then maybe a traditional rose garden is for you. A classic English rose garden is filled with a variety of roses and varied hybrids, some planted together, and some working its way across trellises and brick walls.

  1. Install ambient lighting

Subtle lighting is helpful in emphasizing the beauty of an outdoor garden. You can try hanging garden lanterns and installing small lighting fixtures to provide an intimate vibe during the night. String lights and floating candles also offer a romantic ambiance to the space and make it look really magical. If you have a garden path, it also helps to add floor lighting to avoid stumbling.

  1. Turn it into a private space

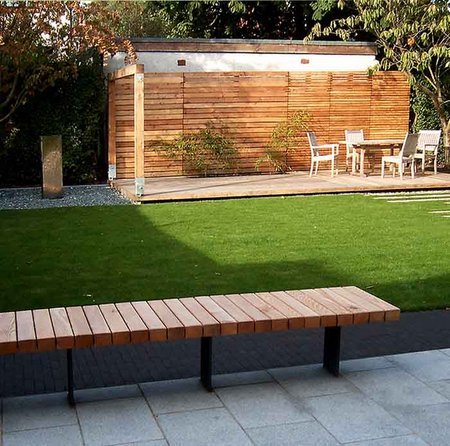
Privacy is important in keeping your garden oasis a peaceful retreat. This isn’t to say you should completely hide your garden and keep everyone out. By installing some wooden screens and curtain you create a space that’s quiet, serene, and at the same time mysterious.  Putting a level of seclusion to your garden makes it more attractive, intimate, and relaxing.

  1. Install a water feature

Most gardens include a water feature either in a form of a fountain, a fish pond, or a cascading water wall. Water symbolizes peace and tranquility and adds purity and life to your gardenscape. Whether you want to go as big as building a koi pond, or as small as having a rain chain cascading on a traditional clay pot, the choice is yours. But rest assured that the effect of adding a water element on your garden speaks wonders.

  1. Put outdoor seating

You can’t fully enjoy your garden oasis if you don’t install a seating area in the midst of it where you can settle into. Whether it’s a bench to enjoy the fragrant bushes around, or an outdoor lounge with chairs and tables, it doesn’t matter as long as you’re comfortable in it. You can add a fire pit, put some blankets and throw pillows, and enjoy a night out with your friends under the starry sky.

Sparmannia: Growth And Care

0

Sparmannia: Growth And Care – Sparmannia is a fast-growing plant that would grow into a small tree or large shrub in the wild. This is a plant that has amazing flowers as they almost seem to move. Sparmannia africana is an easy-to-grow large shrub for a shady area with lush, soft, heart-shaped leaves and pretty white flowers with a puff of gold and red stamens during winter-spring. It is tree-like, quickly growing several feet high. The flowers appear in long– stalked clusters.

Sparmannia africana is also known as African hemp, African linden, the house lime or the Cape stock rose and the Cape hollyhock. Origin from Southern Africa, Sparrmannia africana grows in damp places on forest margins, hill slopes, in ravines, on rocky hillsides and along streams along the southern coast.

Sparmannia2

The pale downy leaves make a pleasant contrast to dark leathery foliage. Sparmannia grows quickly and may need repotting more than once a year. Keep growth in check by pinching out the stem tips of young plants.

Sparmannia blooms in early spring if it has been kept in direct sunlight during winter.

Sparmannia1

Secret of success

Temperature: Average warmth – minimum 45°F in winter. Provide good, draught-free ventilation in periods of hot weather. During the rest period (April to June), keep the plant cool.

Light: Brightly lit spot away from direct sun in summer. 

Sparmannia3

Water: Keep compost moist at all times – may require daily  watering in summer. Water more sparingly in winter. Reduce the water given to a minimum during the rest period, then gradually increase it again as the plant begins to grow. Use tepid water.

Air Humidity: Mist leaves occasionally in summer; the difficult period is when the plant is moved from the fairly moist outdoor air to the dry air of the living room in late summer. Place the plant on a tray of moisture-retentive pellets; do not mist the hairy leaves.

Propagation: Stem cuttings root easily in spring or summer.

Sparmannia4